Multi-Server Walkthrough: 1 Relay, 2 Servers, 2 Clients
A complete from-scratch setup: one relay, two servers enrolled on it, and two clients each reaching a server's SSH through the tunnel.
Each step below embeds its segment of a live recording made against a real topology (silent).
Topology
                        ┌──────────────┐
   outbound 443 only    │  RELAY VM    │    outbound 443 only
 ┌─────────────────────►│ (cloud VPS,  │◄─────────────────────┐
 │                      │  80+443 open)│                      │
 │                      └──────▲───────┘                      │
 │                             │                              │
┌┴────────┐  ┌─────────┐   ┌───┴────────┐              ┌──────┴──┐  ┌─────────┐
│ server1 │  │ server2 │   │ admin      │              │ client1 │  │ client2 │
│ sshd:22 │  │ sshd:22 │   │ laptop     │              │         │  │         │
└─────────┘  └─────────┘   │ (owns the  │              └─────────┘  └─────────┘
                           │  relay)    │
                           └────────────┘
Five machines run tw: your admin laptop, server1, server2, client1, client2. The relay VM itself only runs Caddy + Xray (installed by the generated script). Nobody needs an inbound port except the relay (80/443); everyone else connects outbound over HTTPS.
One role per profile — run each step on the right box
The first role command a machine runs sets its active profile to that role (relay, server, or client); from then on, commands of the other two roles refuse to run in it. This locks the profile, not the machine — you can always hold another role in a separate context — but for this walkthrough, keep it simple: one role per machine.
Prerequisites
- A domain you control (e.g.
relay.example.com) — you'll create one DNS A record. - The
twbinary installed on all 5 machines. - Servers must be running a normal
sshdon port 22 (that's what clients will reach).
Step 1 — Admin: Provision the Relay
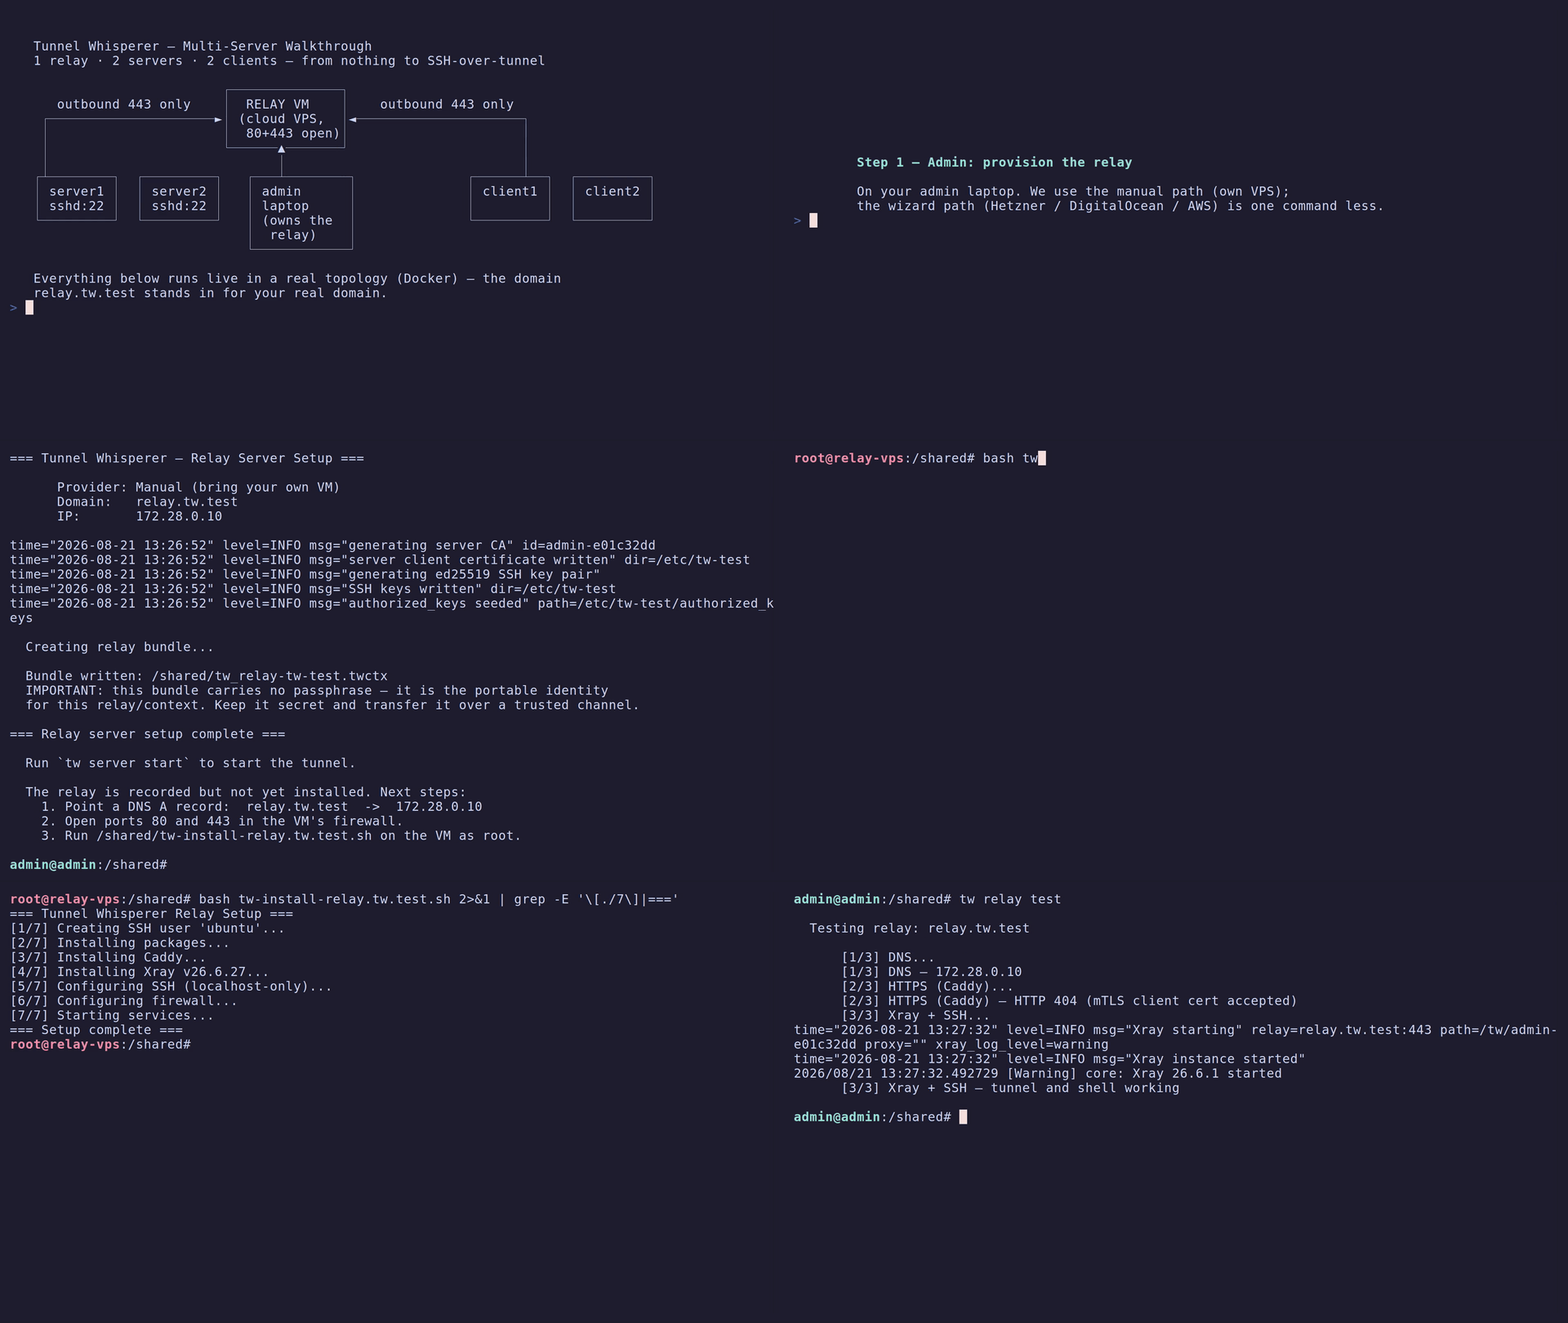
On your admin laptop:
The wizard generates keys, asks for your relay domain, cloud provider (Hetzner / DigitalOcean / AWS) and API credentials, runs Terraform, then waits for you to create the DNS A record and for TLS to come up.
Own VPS instead? Use the non-interactive manual path:
This emits an install script (tw-install-relay.example.com.sh). Copy it to the VPS, run it as root (bash tw-install-....sh — it prints Setup complete), and create the DNS A record relay.example.com → <vps-ip>.
Verify:
This machine is now in relay mode — it's the relay's owner and the only one that can enroll servers or shell into the relay (tw relay ssh).
Step 2 — Enroll server1 (spoken invite)
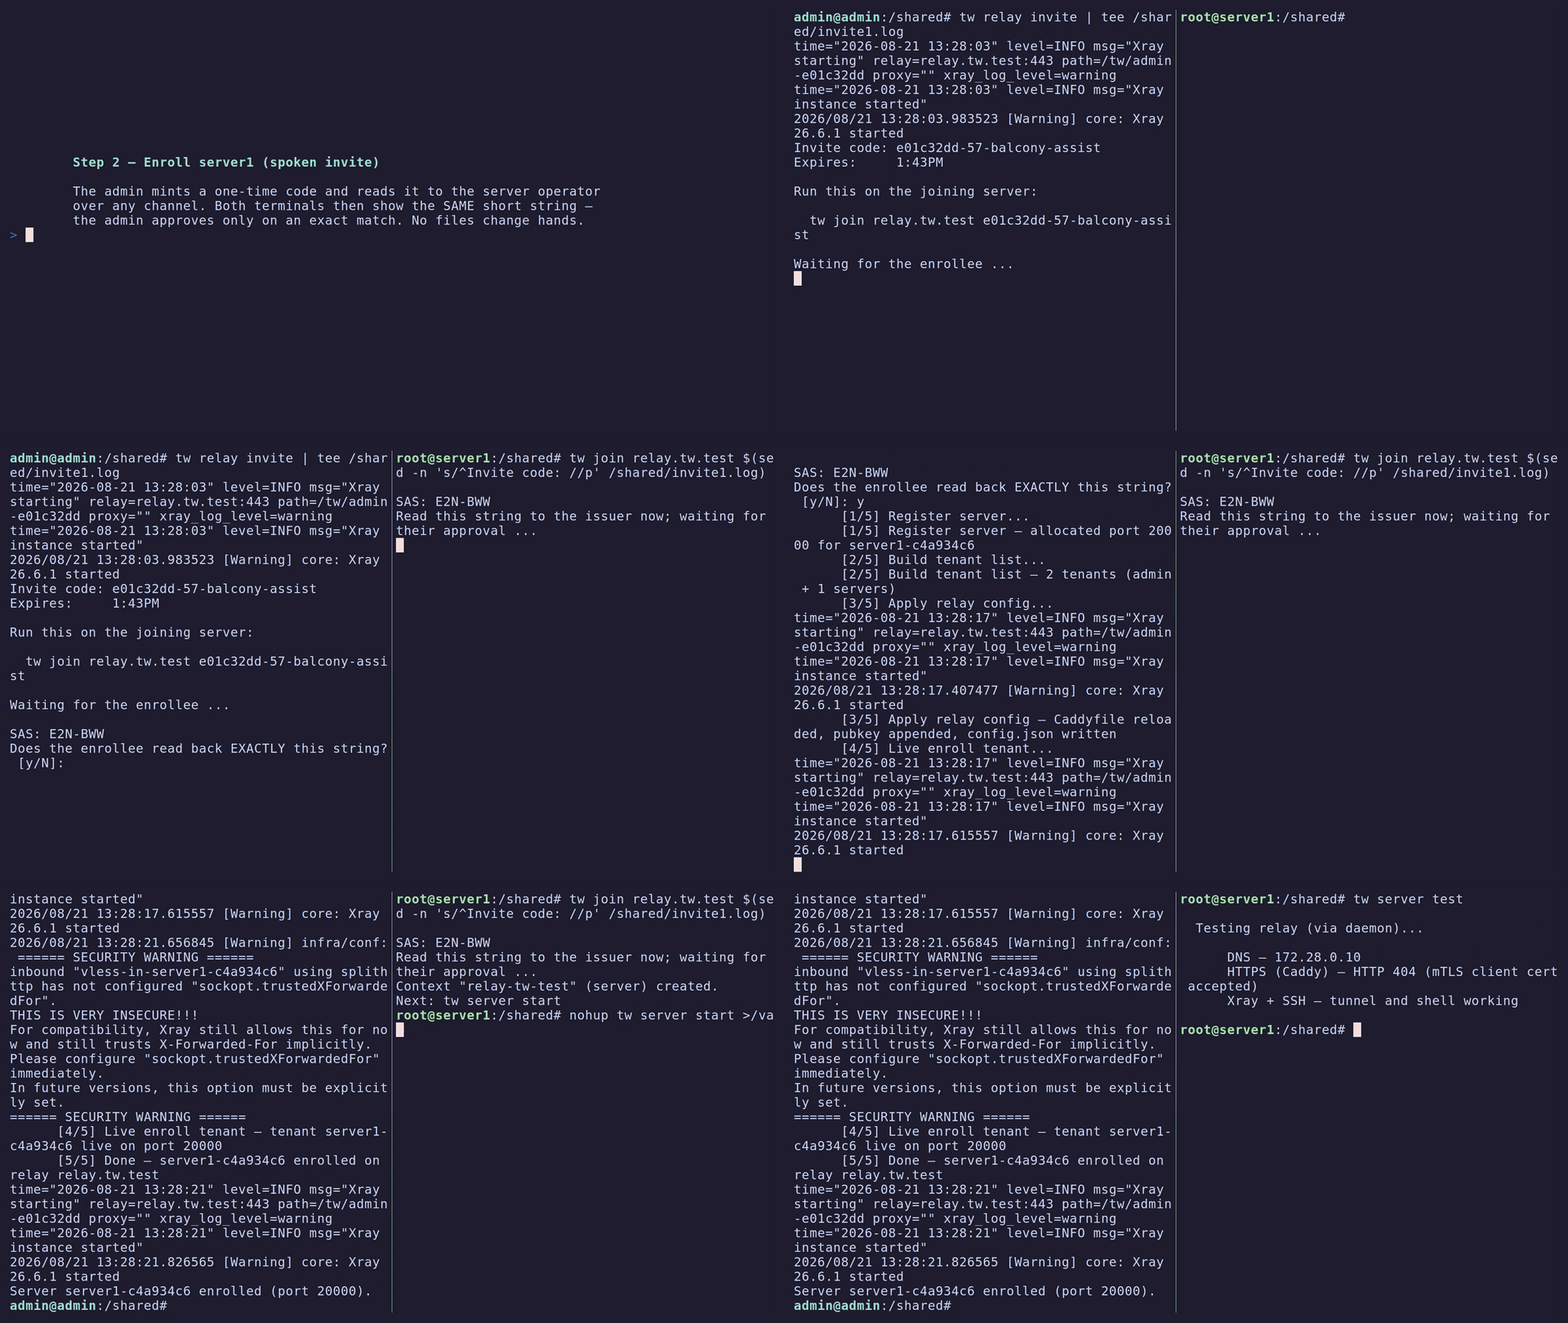
On the admin laptop:
This mints a one-time code and waits. Read it to server1's operator over any trusted channel — it's a PAKE password, not a bearer credential, so overhearing it alone isn't enough (see Tenants — security).
On server1:
Both terminals now show a short authentication string (SAS). Read yours aloud to the admin.
On the admin laptop: confirm the read-back matches and approve. Enrollment then runs the usual live steps (you'll see Caddyfile reloaded), and the grant — relay host, path, port, SSH user, mode signature — comes back over the same encrypted channel.
On server1 (once tw join reports the context created — it's activated automatically on this freshly-installed machine):
tw server start          # foreground; use `sudo tw service install && sudo tw service start` to run on boot
tw server test           # expect "tunnel and shell working"
Step 3 — Enroll server2
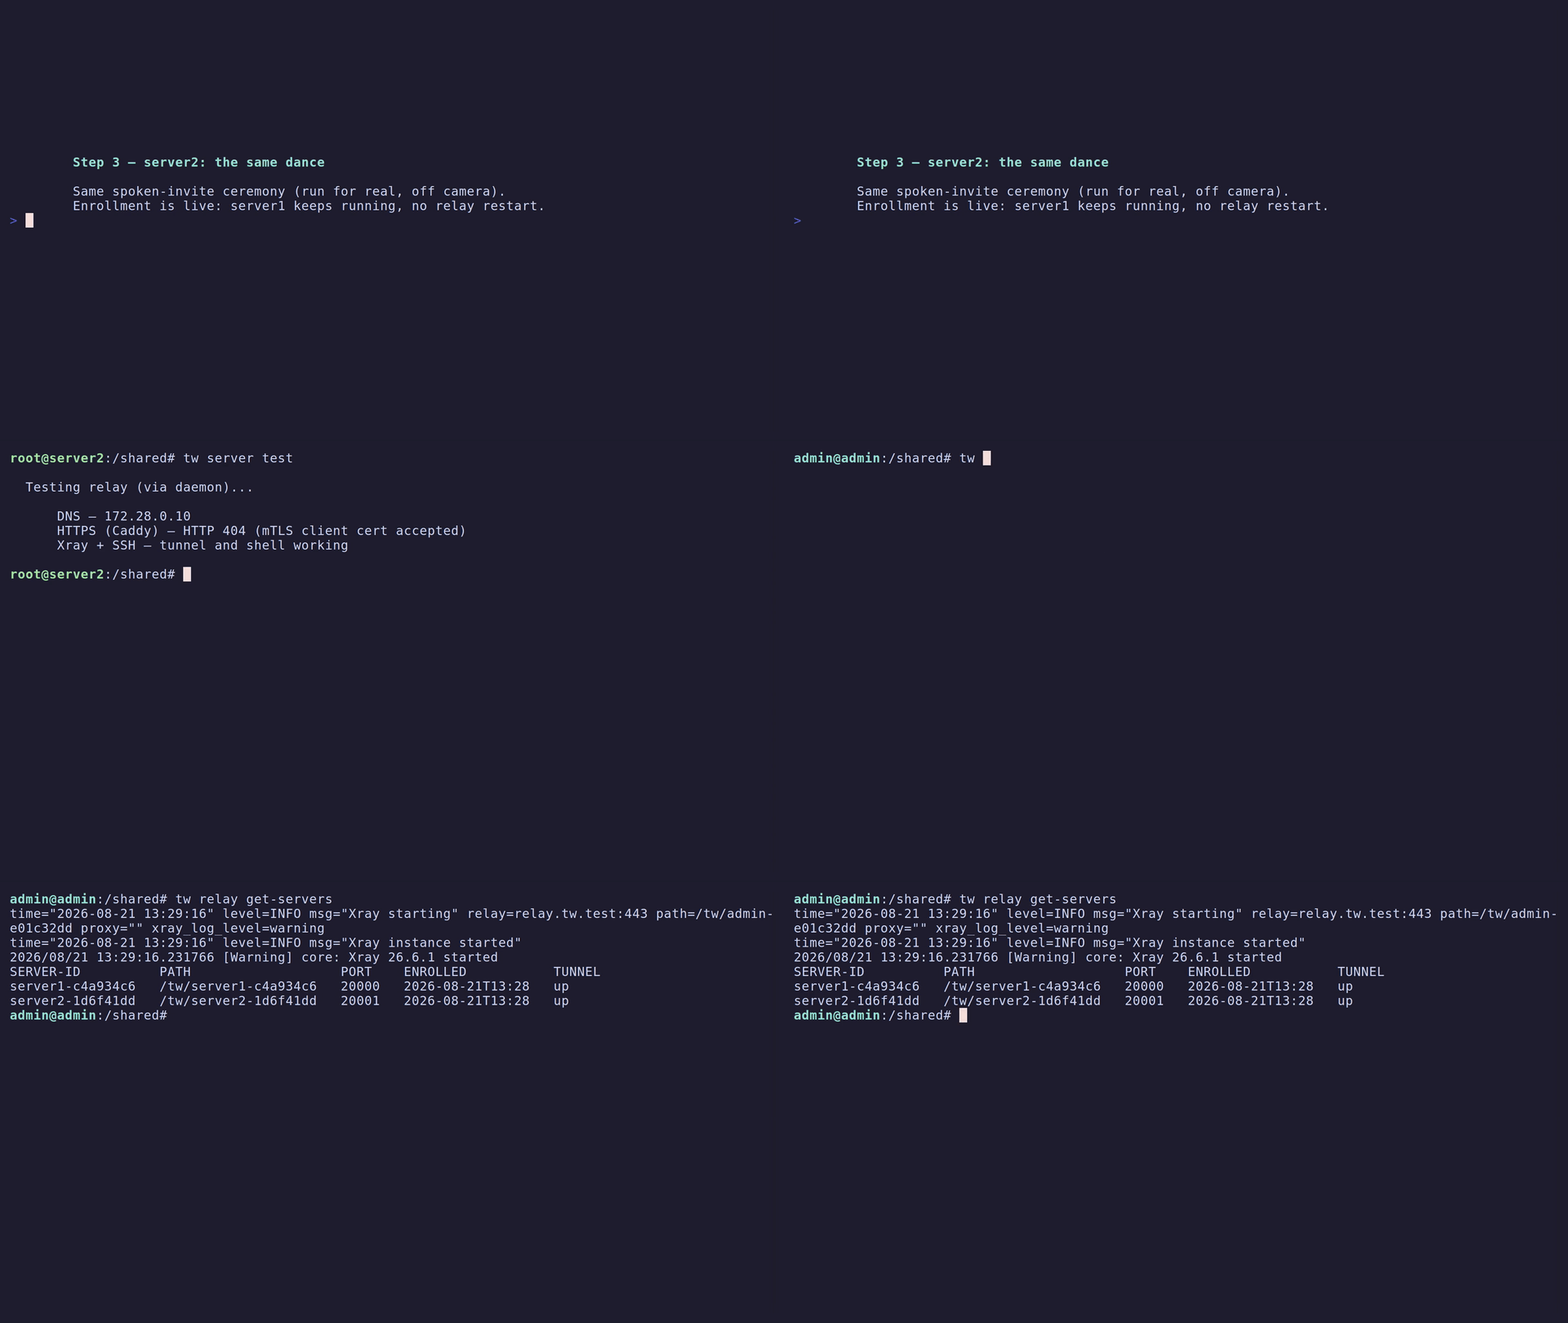
Repeat Step 2 exactly, on server2. Enrollment is live — server1 keeps running, no relay restart. Then confirm both tenants from the admin laptop:
Step 4 — Invite the Client Users (on the servers)
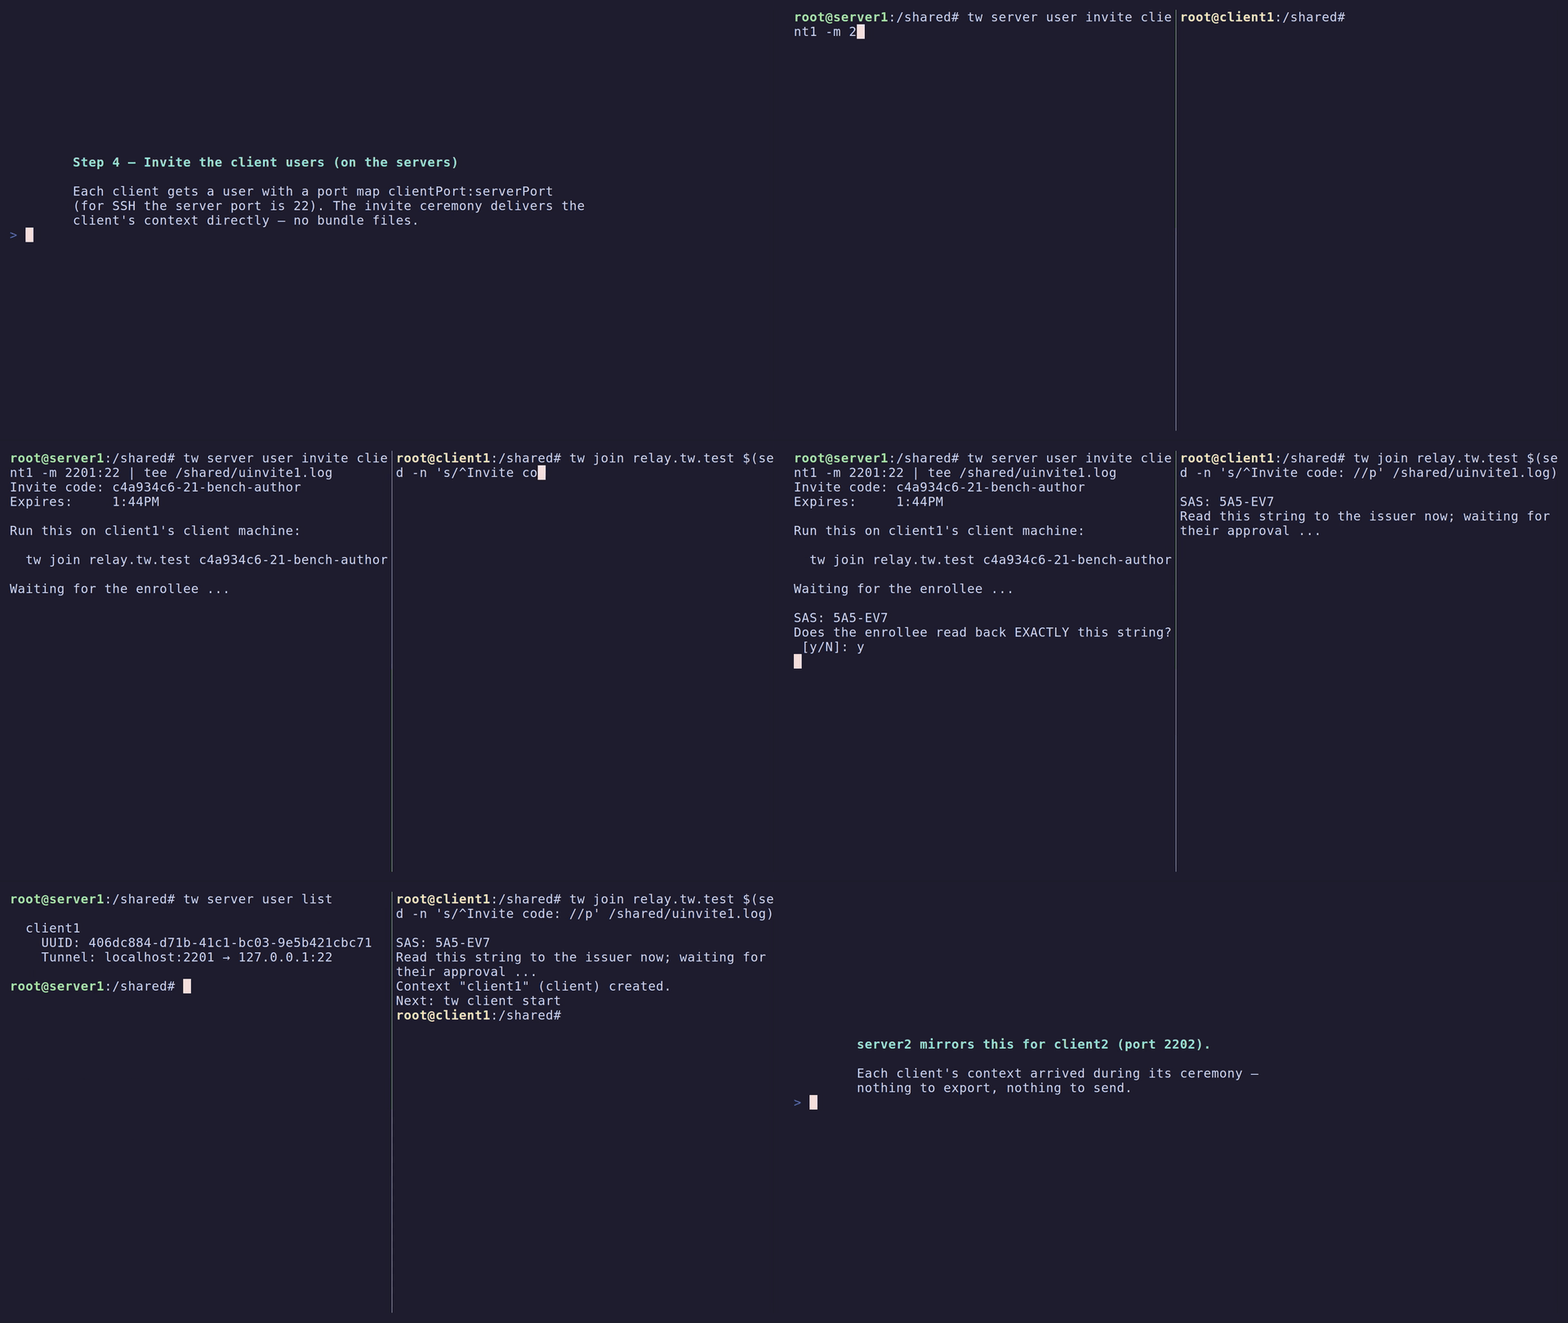
Each client gets a user on the server it should reach, with a port map clientLocalPort:serverPort. For SSH, the server port is 22. tw server user invite mints a one-time code and blocks, waiting for the client to redeem it.
On server1 (for client1):
Read the code to client1's operator; approve on the matching SAS read-back.
On server2 (for client2):
Same dance, with client2.
No files change hands: each client's SSH key and a CSR are generated locally on their own machine and never transit — the server only ever signs the CSR and sends back the signed certificate plus their coordinates.
Step 5 — Connect the Clients
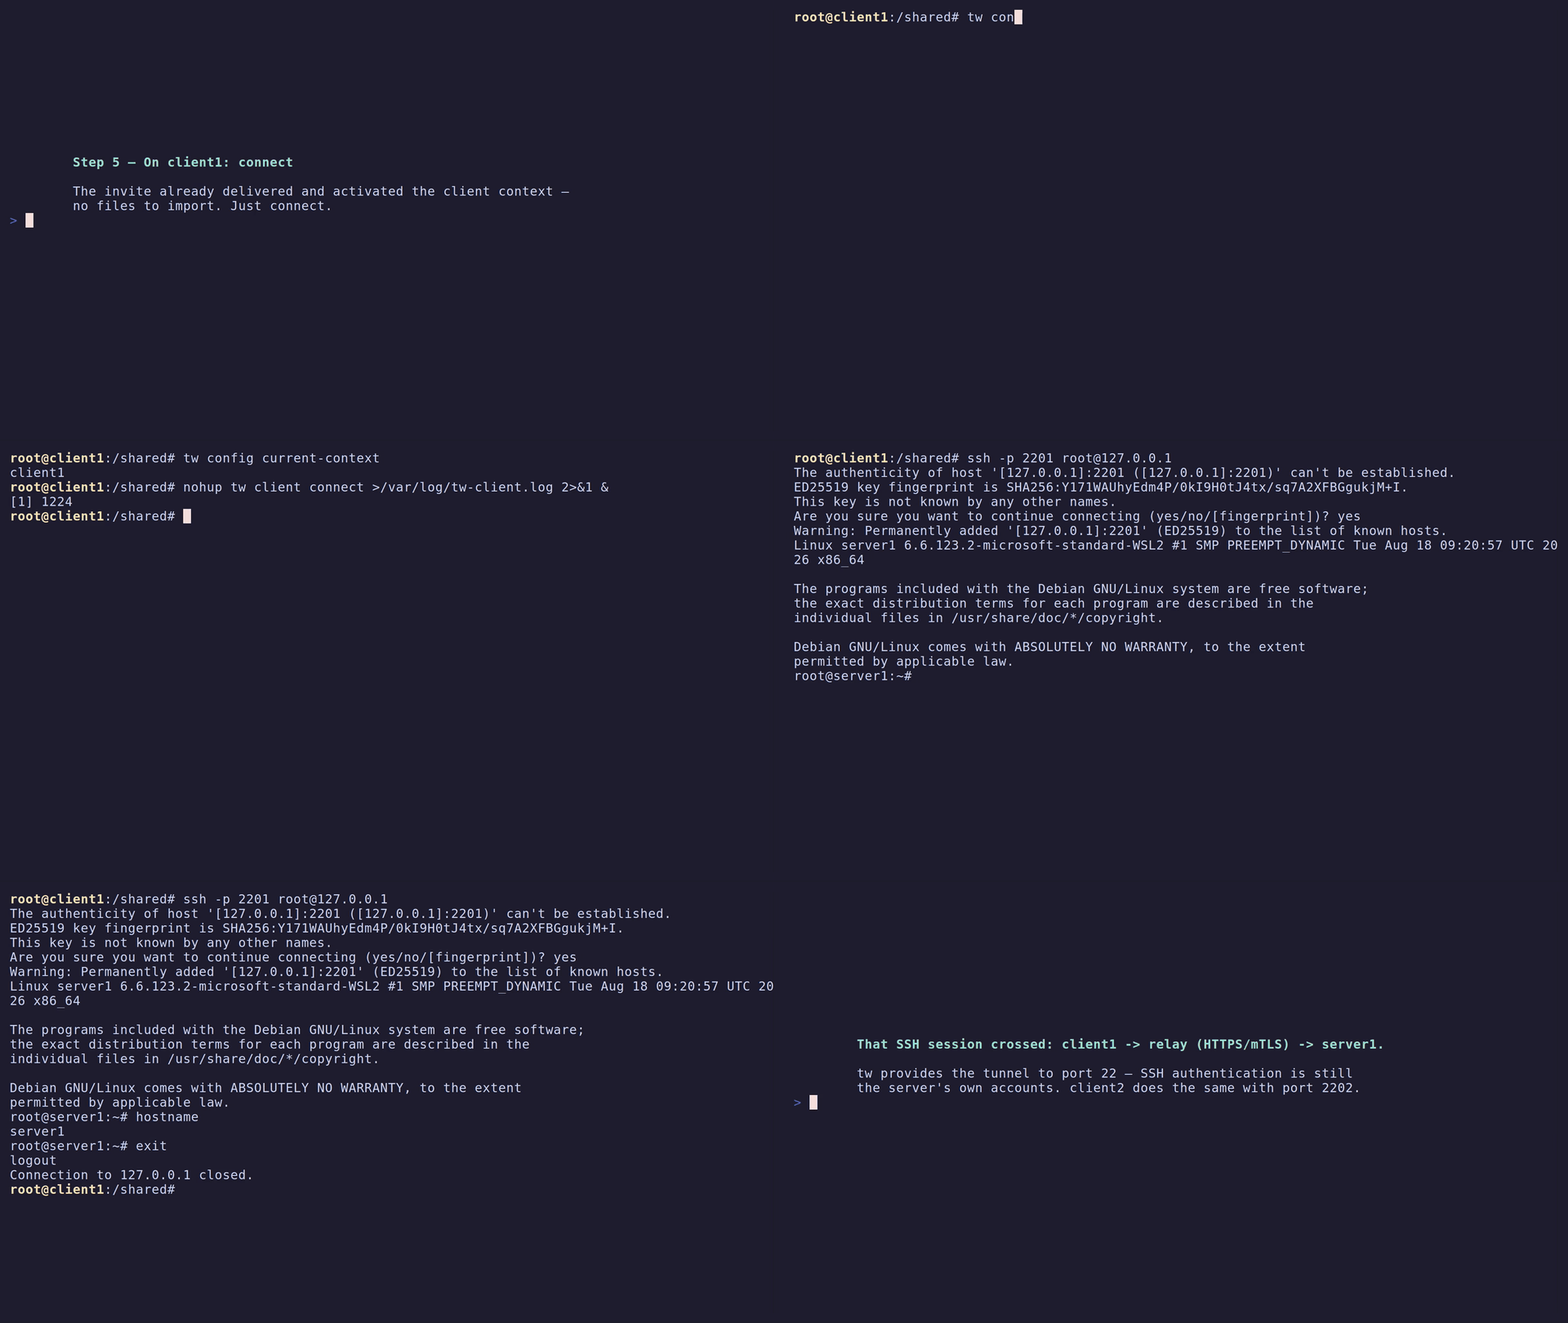
On client1, while server1's invite is waiting:
Read the displayed SAS aloud to server1's operator for approval. Once approved:
Then SSH to server1 through the tunnel:
On client2: same, redeeming server2's code and ssh -p 2202 <user>@127.0.0.1.
Tunnel vs. SSH auth
tw gets you a tunnel to the server's port 22; authentication to sshd itself is still whatever that server's OS accounts use (your normal SSH key or password there).
Step 6 — Verify Everything

# admin
tw relay test && tw relay get-servers
# each server
tw server test && tw server user list
# each client
tw client status
Optional: Each Client Reaching Both Servers
A user (and its context) belongs to one server, but clients handle multiple via kubectl-style contexts:
- On server2, also invite
client1(tw server user invite client1 -m 2211:22) — and mirror for client2 on server1. - On the client, redeem the second invite too:
tw join relay.example.com <code> --name <ctx>(tw joinnever touches the currently active context). - Switch with
tw config use-context <name|id>(tw config get-contextslists them). Switching reconnects — one server connection is active at a time.
Gotchas
- Modes are enforced and signed: a client box can't run
tw server ...commands and vice versa. If you set up a machine in the wrong mode, wipe its tw config dir and start that machine's steps over. - The relay VM's SSH is tunnel-only after install — the admin reaches it via
tw relay ssh. If you provisioned with--ssh-open, the admin key also works directly over port 22 (close it later from the dashboard's relay page). - A user's port mappings are fixed at enrollment — there is no edit command. To change them, delete the user and invite them again under the same name (a "renew").
- To kick a server off the relay: admin runs
tw relay un-enroll-server <server-id> --yes; to revoke a client: server runstw server user unregister <name>/delete <name>(takes effect on their next connection attempt). - Invite codes are single-use and short-lived (15 minutes by default) — if one expires before it's redeemed, just mint a fresh one.